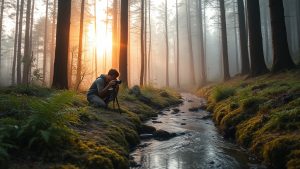
There is a particular kind of quiet that settles over a forest just before sunrise. The air is cool, the birds are only starting to stir, and the light is doing something soft and complicated through the leaves. You raise your camera, press the shutter, and later discover the photo looks nothing like what you felt. It is flat, or blurry, or the colours are wrong. This is the moment most people start searching for everything you need to know about nature photography, and it is a reasonable place to begin.
The good news is that the gap between what you see and what your camera records is not a mystery. It comes down to a handful of skills you can learn in any order, at your own pace. This guide walks through the essentials: how light behaves outdoors, what gear actually matters, how to compose a scene that holds attention, how to photograph wildlife without causing harm, and how to practise so that your improvement is steady rather than accidental.
Understanding Natural Light Before Anything Else
Light is the raw material of nature photography. Everything else, including your camera, is just a way of managing it. Beginners often chase subjects, but experienced photographers chase light and let the subjects appear naturally.
The first thing to notice is direction. Front light, where the sun is behind you, makes scenes look flat and even. It is easy to expose correctly but rarely exciting. Side light, coming from the left or right, reveals texture in bark, grass and rock, and it is usually the most flattering option for landscapes. Back light, where the sun is in front of you, creates silhouettes, glowing edges on leaves and feathers, and long dramatic shadows. Each direction has a purpose, and the skill is recognising which one you are working with.
The second thing to notice is quality. Hard light, typical of midday, produces sharp shadows and harsh contrast. Soft light, found at dawn, dusk and under cloud, wraps around subjects gently and hides imperfections. Most nature photographers plan their outings around the soft hours, sometimes called the golden hours, simply because the light is kinder and the colours are richer.
Colour temperature matters too. Early morning light leans blue, late afternoon light leans warm and orange, and shade on a sunny day can look surprisingly blue to a camera even when your eyes correct for it. If you shoot in raw format, you can adjust this later without losing quality. If you shoot in JPEG, the camera decides for you, and it often guesses wrong.
Choosing Gear That Suits How You Actually Shoot
You do not need a professional kit to make good nature photographs. You need equipment that matches your subjects and your willingness to carry it. The best camera is the one that is with you when the light is right.
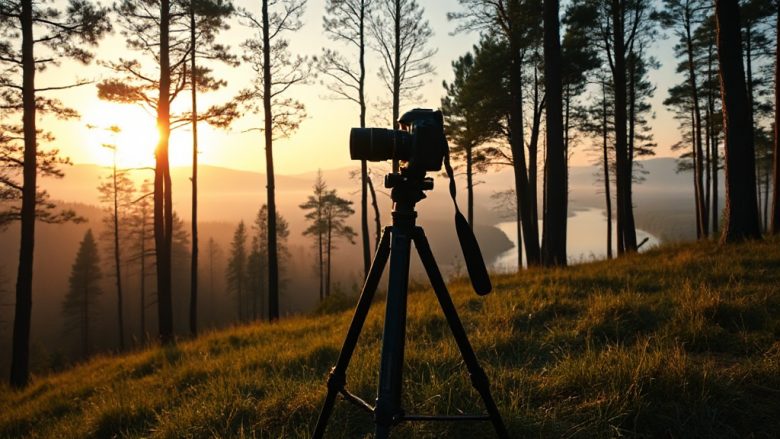
For landscapes, almost any camera works, including a decent phone. What matters more is a tripod. A stable tripod lets you use slow shutter speeds at dawn and dusk, when the light is best but the exposure is longest. It also forces you to slow down and think about framing. A remote release or a two-second timer prevents the small shake caused by pressing the button.
For wildlife, reach matters. A longer lens lets you photograph animals from a distance, which is safer for you and less stressful for them. You do not need the most expensive telephoto on the market. A modest zoom with a stabilised body will get you started, especially if you learn to get closer by being patient rather than by buying glass.
For close-up work, such as flowers, insects and fungi, a macro lens or a set of extension tubes opens up a world that most people walk past. A small reflector or a diffuser helps control harsh light on tiny subjects.
Beyond the camera itself, a few inexpensive items make a real difference. A microfibre cloth for rain and dust, a spare battery kept warm in a pocket during cold weather, and a waterproof bag or cover for sudden showers. Memory cards are cheap; buy two and rotate them rather than filling one to capacity.
One quiet piece of advice: upgrade your skills before your gear. A photographer who understands light and composition with an entry-level camera will consistently outperform someone with expensive equipment who does not.
Composition Basics That Make Nature Photos Hold Attention
Composition is how you arrange what is in the frame. It is the difference between a snapshot and a photograph. The rules are not laws, but they are useful starting points.
The rule of thirds is the most familiar. Imagine dividing your frame into a grid of nine equal parts. Placing your subject or horizon along one of those lines, rather than dead centre, usually creates a more balanced and interesting image. Many cameras can overlay this grid for you.
Leading lines guide the eye through a scene. A path, a river, a fallen log or a row of trees can pull the viewer from the foreground into the distance. Look for these lines and use them deliberately.
Foreground, middle ground and background give a landscape depth. A photo of a mountain alone can feel flat. Add a textured rock in the foreground and the same mountain suddenly feels vast. This layering is one of the most reliable ways to make a landscape feel three-dimensional.
Framing uses natural elements to enclose your subject. An arch of branches, a gap between rocks or a curtain of leaves can draw attention inward. It also adds context, telling the viewer where the subject lives.
Finally, simplify. Nature is busy. Before you press the shutter, ask what you are actually photographing and whether anything in the frame distracts from it. Moving two steps to the left often removes a distracting branch or a bright patch of sky. Less is usually more.
Wildlife Ethics and Respecting What You Photograph
This is the part that beginners often overlook, and it matters more than any technical setting. Nature photography is a privilege, and the welfare of the subject comes before the image.
Keep your distance. Use a longer lens or a hide rather than creeping closer. If an animal changes its behaviour because of you, you are too close. Signs include alert posture, staring, fleeing, or a parent moving away from young. Back off immediately.
Never disturb nests, dens or resting places. Never use recorded calls to lure birds during breeding season. Never bait wildlife with food to get a shot. These practices cause stress, change natural behaviour, and in many places are illegal.
Stay on trails where they exist. Trampling vegetation to reach a viewpoint damages habitat that took years to grow. In fragile environments such as dunes, alpine meadows and wetlands, even a single careless step can leave a mark for a decade.
Be honest about captive or baited subjects. If a photo was taken at a wildlife park or with a trained animal, saying so is a matter of integrity. Audiences increasingly value authenticity, and passing off a captive subject as wild undermines trust in the whole craft.
Leave no trace. Take your litter home, avoid disturbing rocks and logs that shelter insects and small mammals, and keep quiet so that others, human and animal alike, can enjoy the same place.
Practice Tips That Actually Improve Your Photography
Improvement in nature photography comes from repetition, reflection and small deliberate challenges. Here are practical ways to build skill without needing exotic locations.
Photograph the same place in different conditions. A local park or garden visited weekly through a season will teach you more about light and change than a single trip to a famous landmark. You will start to notice how the same tree looks at dawn, in rain, in fog and in autumn colour.
Give yourself a single-subject assignment. Spend a session photographing only textures, only reflections, only shadows or only one species of plant. Constraints force creativity and stop you from taking the same photo repeatedly.
Review your images critically but kindly. Pick three you like and ask why they work. Pick three you dislike and ask what went wrong. Was the light flat? Was the subject too small in the frame? Was the focus in the wrong place? Naming the problem is how you avoid repeating it.
Learn one technical skill at a time. Exposure, focus, depth of field and white balance are easier to master individually than all at once. Set your camera to aperture priority and spend a month noticing how different apertures change your images. Then move on.
Carry a notebook or use your phone to jot down settings and conditions for photos you are proud of. Patterns will emerge. You will discover, for example, that your best wildlife shots are taken in the first hour after sunrise, or that your sharpest landscapes use a tripod and a two-second delay.
Finally, be patient. Nature does not perform on demand. Some of the best images come from waiting quietly in one place for an hour with no expectation. The reward for patience is often a moment no one else was there to see.
Frequently Asked Questions About Nature Photography
Do I need an expensive camera to start nature photography?
No. A modern phone or an entry-level camera with a kit lens is enough to learn the fundamentals of light, composition and timing. Expensive gear helps with specific challenges such as distant wildlife or very low light, but it does not replace understanding. Many award-winning nature photographs have been made with modest equipment.
What is the best time of day for nature photography?
The first hour after sunrise and the last hour before sunset usually offer the softest, warmest light. Cloudy days are excellent for forests, waterfalls and close-up work because the light is even. Midday is generally the hardest time, though it can work for high-contrast scenes or when you deliberately want strong shadows.
How close can I get to wildlife without disturbing it?
There is no single distance that works for every species. The reliable rule is to watch behaviour. If the animal notices you and changes what it is doing, you are too close. Use a longer lens, a hide or simply wait for the animal to come to you. Never chase, corner or repeatedly approach the same individual.
Should I edit my nature photos or leave them untouched?
Basic editing, such as adjusting exposure, contrast and colour balance, is a normal part of photography and has been since the days of film. What matters is honesty. Removing a distracting twig is generally accepted, but adding elements that were not there, or moving an animal into a scene, misrepresents reality. Keep edits believable and disclose anything unusual.
How do I stop my landscape photos from looking flat?
Look for layers. Include something in the foreground, something in the middle and something in the distance. Shoot in soft or side light rather than flat midday sun. Use a smaller aperture to keep more of the scene sharp, and consider a polarising filter to deepen skies and cut glare from water and leaves.
Nature photography rewards curiosity more than equipment. Start with the light, learn your gear slowly, compose with intention, and treat every subject with respect. The rest follows with time outdoors and a willingness to look closely at what you have made. You do not need to know everything before you begin. You only need to begin, and then keep going.